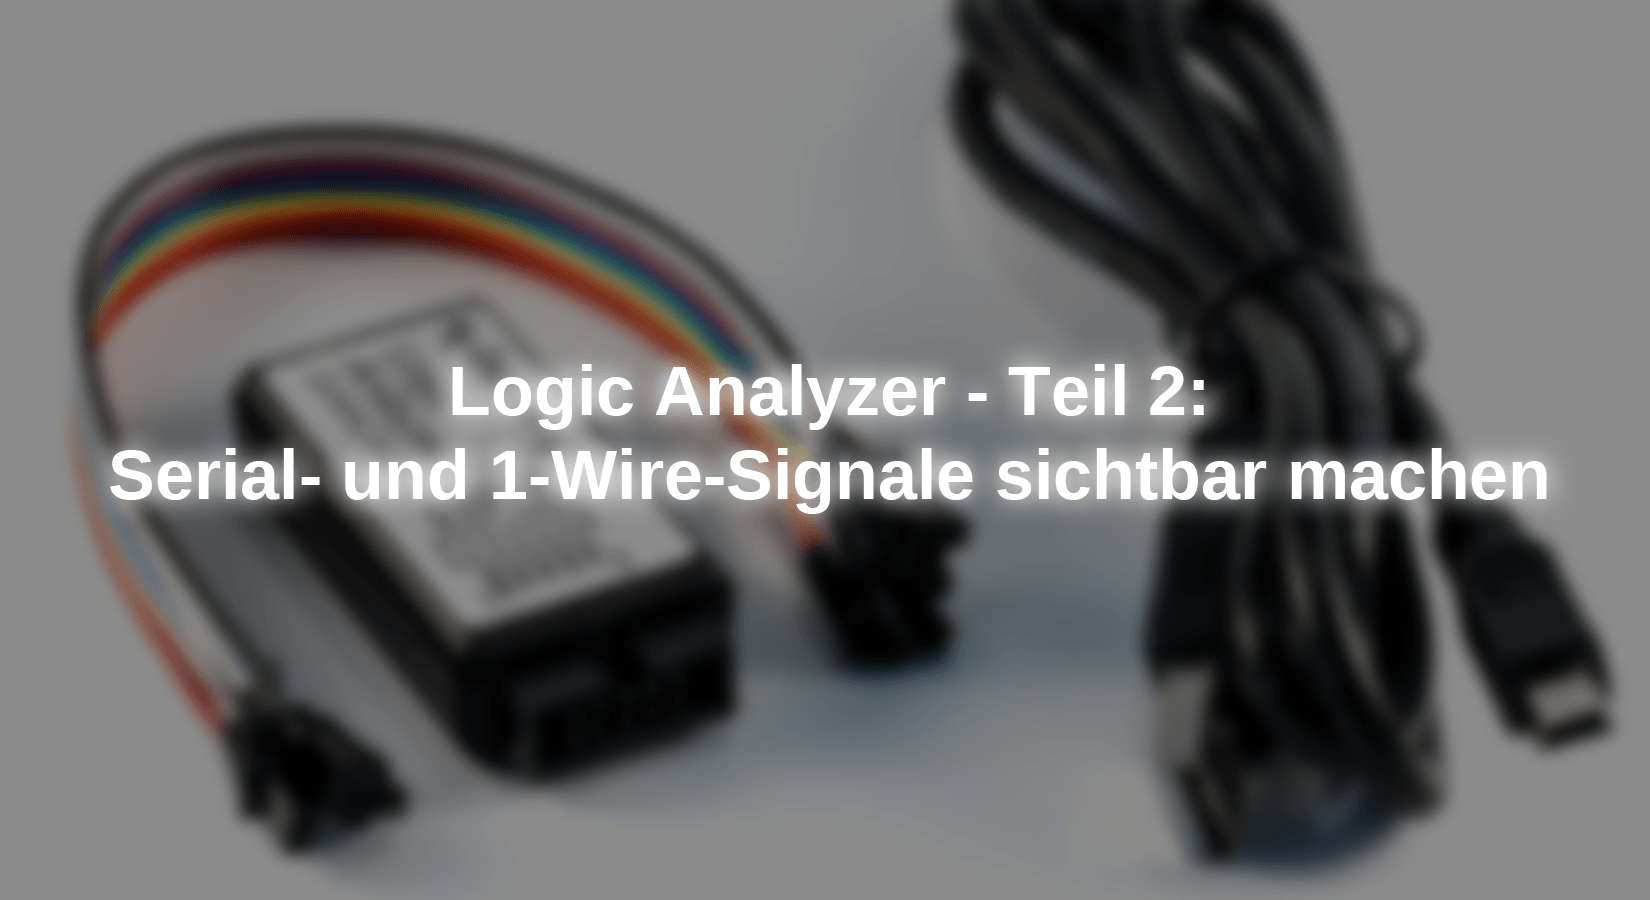
In the first part, we had the Logic Analyzer and the Evaluation software I2C signals using the example of a Real Time Clock. We had only a few mouse clicks in the software because I2C can be selected via a special control panel.

The same applies to Async Serial and SPI. We can also select the signals of the serial interface (Synonyms Async Serial, RX/TX, UART).

After clicking on Async Serial, a window opens in which the input channel (as a memory: CH1 on the Logic Analyzer will be Channel 0 in the software) and the parameters of the serial connection are set.
We want to measure the data transmitted to the serial monitor beforehand with the DS18B20 pen-thermometer and also make it visible. But where do we find 1 wire?

For this, we click on the small plus sign at the top right, with which a new window with the many other interfaces is opened. Through the roller beam in the left picture we see that not everything is still displayed. We see the remaining possibilities on the right part of the picture.

Here too, another window opens for the adjustment of the channel after clicking 1-Wire.

First I set Channel 1 (on CH2) to show both signals at the same time. Later we evaluate the individual signals in more detail in order to check the match with the values displayed. I set 5 seconds as a recording time. The sketch is one of the examples of the 1-wire temperature sensor DS18B20 with an output of the values in the serial monitor of the Arduino IDE.

The big gaps are due to the delay (1000) in the sketch. And you can only recognize something correctly if you increase the resolution with the roller wheel of the mouse and move the window with the mouse pointer if necessary.
Let us first concentrate on the wire bus. In the following pictures, we compare the signals with the output on the serial monitor. In the upper image, the "Family code" for the DS18B20, i.e. the number 28, is transmitted after the reset signal, then the unique ROM code and the CRC (cyclic redundancy check = test value of the data), then come the data that can be seen in the second picture with the roller wheel better. The bright field in the foreground is the serial monitor of the Arduino IDE.

Obviously, the order of the bytes in the Rome code is swapped due to the coding. But as you can see: the values are correct.

The order is observed for the data, but here the large stumbling block would be the conversion of the bytes into a value for the temperature. Fortunately, this conversion takes over the program library onwire or dallast temperature. Details can be found in the \ Arduino \ Libraries folder.
Now I would like to show you the signals for this data transmission from the Micro Controller to the Arduino IDE:

The signals are transferred to two groups, the first with 47 bytes, and the second with 99+ bytes. Next step: expand both groups with the roller wheel. In the next picture, you will see the numerical values of the 47 sent bytes. This time I decided on the ad for the decimal values to check the values with an ASCII table.

|
82 |
79 |
77 |
32 |
61 |
32 |
50 |
56 |
32 |
70 |
70 |
32 |
57 |
48 |
32 |
53 |
48 |
32 |
50 |
32 |
68 |
68 |
|
R |
O |
M |
= |
2 |
8 |
F |
F |
9 |
0 |
5 |
0 |
2 |
D |
D |
|
13 |
10 |
32 |
32 |
67 |
104 |
105 |
112 |
32 |
61 |
32 |
68 |
83 |
49 |
56 |
66 |
50 |
48 |
13 |
10 |
|
CR |
LF |
C |
H |
I |
P |
= |
D |
S |
1 |
8 |
B |
2 |
0 |
CR |
LF |
The first two lines of the output were sent in the serial monitor.
Now the second group with 99+, exactly 116 bytes:

Here the third and fourth lines are transmitted, starting with two spaces and the word data. Between 50 and 60ms you can see the number sequence 13-10. This is the line feed, then the output of the temperature begins.
I would like to show something else at this point: When I pushed the mouse pointer over the signal, the note was shown that by pressing the CTRL key (on the German keyboard Ctrl) and clicking on the mouse, you can get a table with the measured values that look like this, for example:

Here is the table with the values of the 1-wire temperature sensor and the serial signal. In the Data column, the hexadecimal numbers of the sensor and the decimal numbers are the ASCII numbers of data transmission to the PC. This table can be copied as a whole or using a marking in parts and processed them into Excel.
All in all, the Logic Analyzer in connection with the appropriate software is a versatile tool to evaluate and make the signals from the various transmission protocols visible.
Finally, I would like to show everyone who struggles with Hexadenzimal and binary numbers briefly a few tricks for the Windows calculator. With Linux and Mac OS, there are certainly comparable programs.
With the default setting, you usually have a computer for basic arithmetic. I call the Tchibo calculator because the first affordable calculators could be bought from the coffee roaster. For the angle functions required on a computer for pennaries, you can set “scientific” with a click of the mouse. And with the programmer setting, you can get aid for conversion between the different number formats, binary (also called dual numbers) as well as hexadecimal (base 16) and octal (base 8) as well as access to the functions (Bit -style) and bit shift (second picture ).

 The number of hexadecimal 68, shown in programs 0x68, corresponds to the decimal number 104, the octal number 150, and the dual number 0110 1000.
I wish all the detectives good luck who are looking for bits and bytes.


2 comments
Andreas Wolter
@Rüdiger Dahilnger: Bitte folgen Sie dem Link zum ersten Teil dieser Reihe. Dort ist beschrieben, welcher Sketch benutzt wurde.
Grüße,
Andreas Wolter
AZ-Delivery Blog
Rüdiger Dahlinger
Alles schön und gut, aber ohne Arduino Sketch ist das ganze nicht nach zu vollziehen. Bitte um Downloadlink.